Sebring, FL
The Right Way To Floss Around Dental Implants


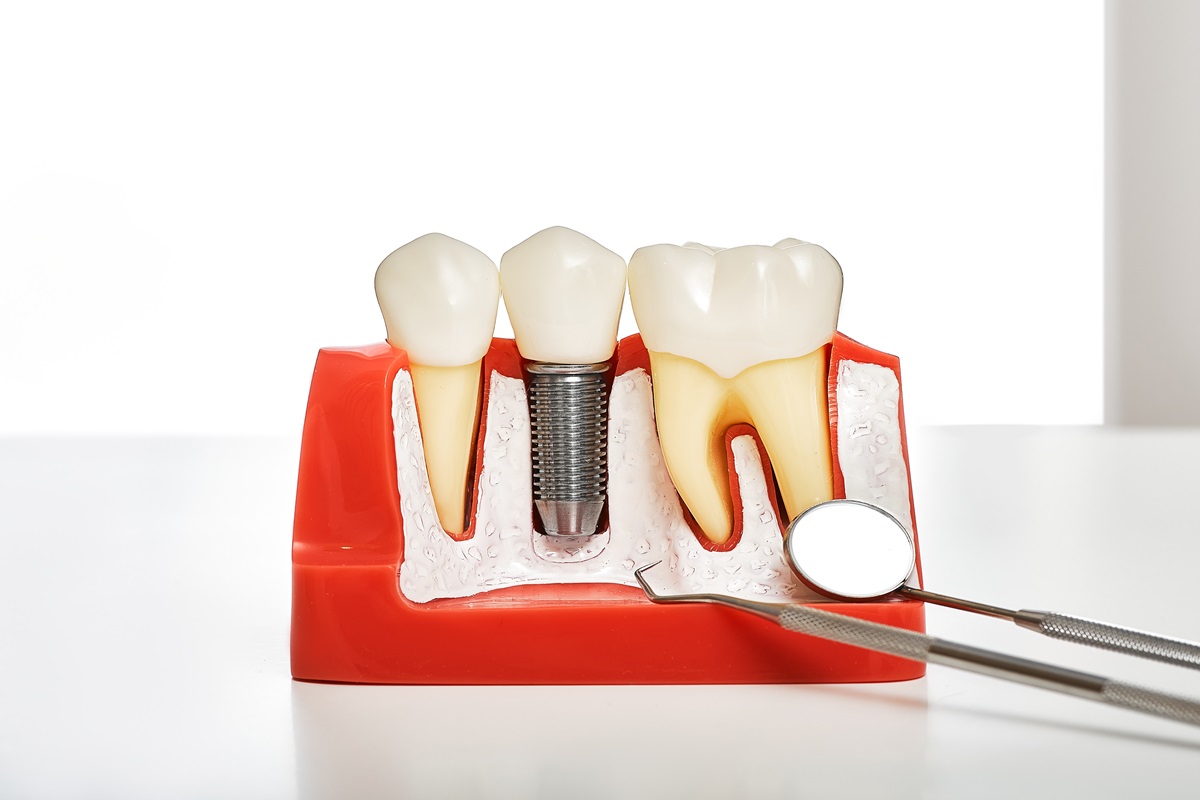
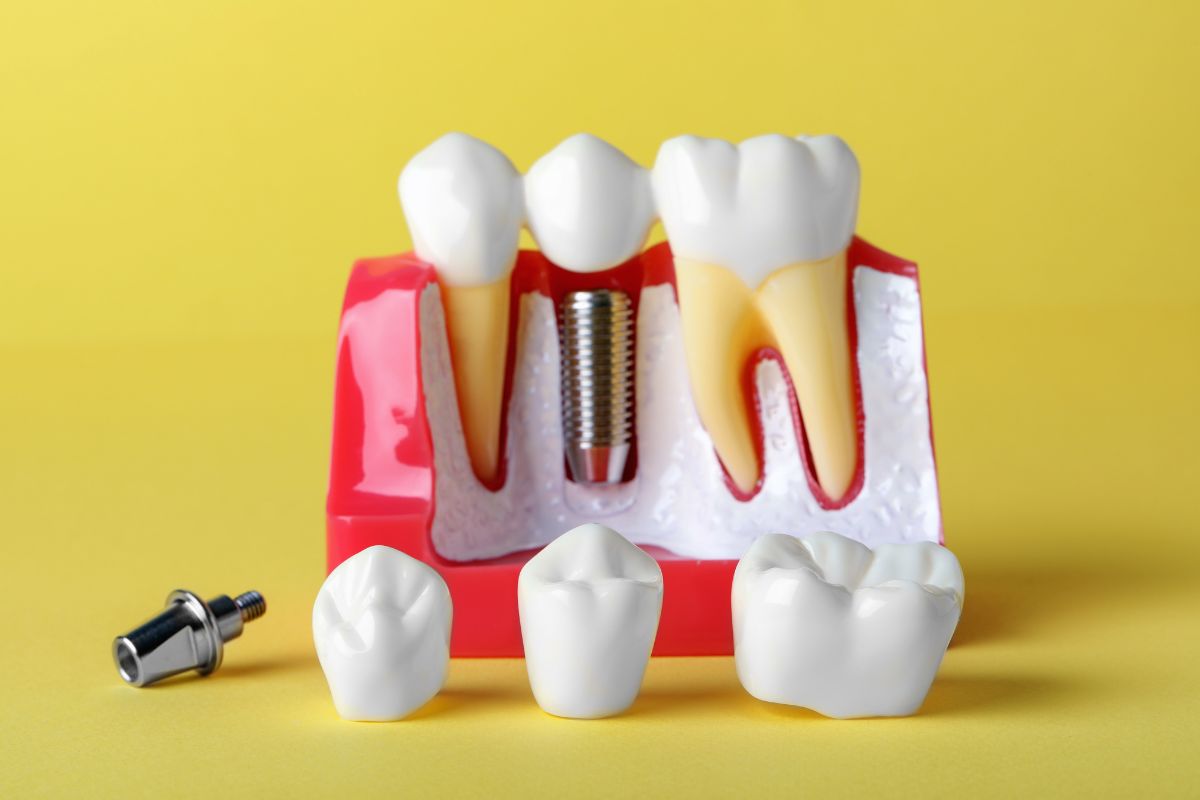
Dental implants are a life-changing solution for missing teeth, offering a strong, natural-looking, and permanent restoration. However, their longevity and success are not guaranteed by the procedure alone. The secret to a long-lasting implant lies in your daily oral hygiene routine, and flossing plays a starring role. Unlike natural teeth, dental implants are anchored directly into the jawbone without the protective ligament that surrounds a natural tooth root. This means the gum tissue around the implant is more susceptible to bacterial invasion, which can lead to a condition called peri-implantitis—a form of gum disease that can cause bone loss and, eventually, implant failure. Proper flossing is your first line of defense against this silent threat.
If you’re considering dental implants in Sebring or want professional cleaning services for your existing ones, it’s essential to seek expert advice.
The Right Tools for the Job: Your Dental Implant Flossing Arsenal
When it comes to flossing around dental implants, the standard dental floss you use for your natural teeth might not be the most effective or safest option. The key is to select tools that are gentle yet thorough.
- Super Floss: This is often the top recommendation from dentists for implant care. Super Floss has three distinct sections: a stiffened end for easy threading under bridges and around implants, a spongy middle section that effectively cleans large gaps and removes plaque, and a regular floss section for cleaning adjacent teeth.
- Water Flossers (Oral Irrigators): These devices use a stream of pressurized water to dislodge food particles and plaque from between teeth and around the implant. They are excellent for reaching areas that traditional floss can’t, and they are particularly gentle on the gums. Think of them as a powerful, non-abrasive massage for your gum line.
- Interdental Brushes: Available in various sizes, these small brushes are designed to clean the spaces between teeth and around the implant abutment. They are highly effective at removing debris but must be used with care to avoid scratching the implant or damaging the gum tissue. Always choose a brush size that fits comfortably without forcing it.
Your Step-by-Step Guide to Flossing with Super Floss
Mastering the technique is just as important as having the right tools. Here is a simple, effective routine using Super Floss:
- Threading the Needle: Take a length of Super Floss and use the stiffened end to gently guide the floss under the dental implant bridge or through the space between the implant and an adjacent tooth.
- Hugging the Implant: Once the floss is threaded, use the spongy section to wrap around the base of the implant. Move it back and forth in a gentle, “C-shaped” motion, ensuring you clean the entire circumference of the implant post.
- Cleaning the Neighbor: If your implant is next to a natural tooth, use the regular floss section to clean that space as you normally would. Gently slide the floss up and down the side of the natural tooth, moving it from the gum line to the contact point.
- Repeat and Rinse: Repeat this process for every implant and every space. Finally, rinse your mouth with an antiseptic mouthwash to flush out any loosened debris and kill remaining bacteria.
If you have questions about which tools are best for you, we encourage you to visit our dental office for a personalized consultation.
The Gentle Approach: Flossing with a Water Flosser
Water flossers offer a different, but equally effective, approach:
- Fill the Reservoir: Fill the water flosser’s reservoir with lukewarm water. You can add a small amount of non-alcoholic mouthwash for an extra clean feel.
- Position the Tip: Lean over the sink and place the tip of the water flosser at a 90-degree angle to the gum line, pointing toward the implant.
- Power On and Glide: Turn on the device to a low pressure setting, and slowly guide the stream of water along the gum line of the implant. Allow the water to pulse between the implant and adjacent teeth, and along all surfaces.
- Complete the Circuit: Continue this process, cleaning both the front and back surfaces of the implant and the surrounding teeth.
Beyond Flossing: A Holistic Approach to Implant Care
While flossing is critical, it’s part of a larger picture of implant maintenance.
- Brushing: Use a soft-bristle toothbrush and a non-abrasive toothpaste. Brush gently twice a day, paying close attention to the area where the implant meets the gum line.
- Regular Check-ups: Your dentist and dental hygienist are your partners in implant care. Regular professional cleanings are essential to remove calculus and plaque buildup that you can’t reach at home. They will also monitor the health of your implant and surrounding tissues. To discuss your options and get professional guidance, you can easily book an appointment with us today.
- Avoid Harmful Habits: Refrain from using your teeth as tools to open packages, and avoid biting on hard foods like ice or nuts, as these can put undue stress on the implant.
By embracing these simple yet effective habits, you’re not just flossing—you’re investing in the longevity and health of your dental implants, ensuring your smile remains beautiful and strong for years to come.